The Media library allows you to access all your files, folders and images on your site.
By accessing it, you will be able to modify the titles, alt tags, captions and other information of your images, and also manage your folders and files.
How to use a the Media Library:
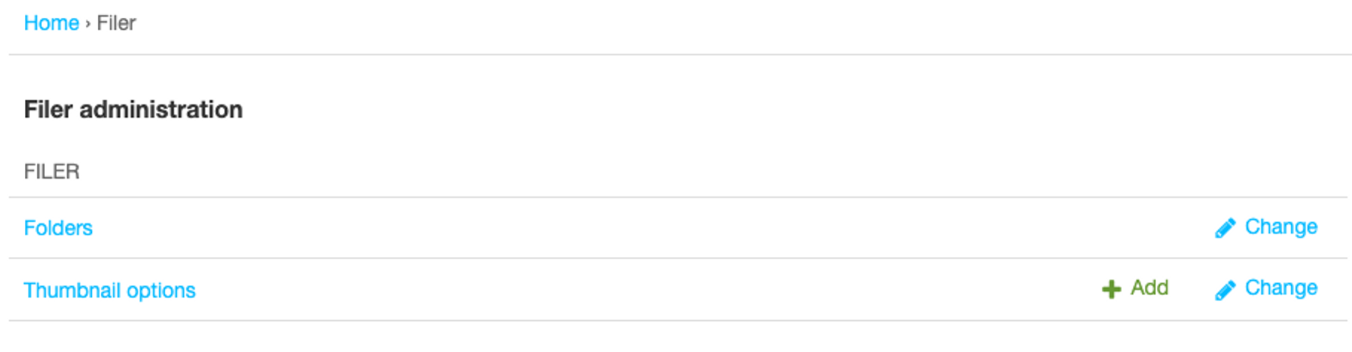
Step 1: Accessing the Media Library
To manage the files, look for the Filer section and click on "Folders"
Description of the Media library
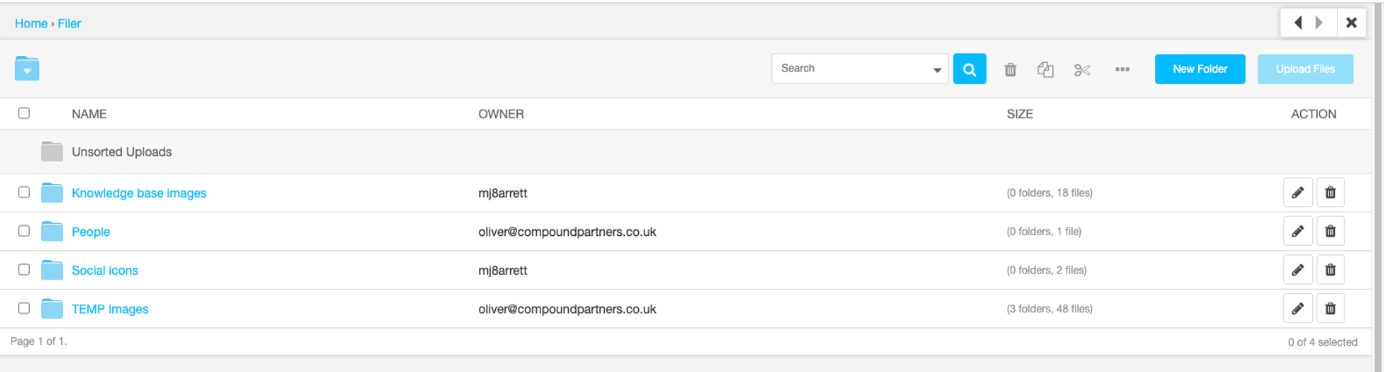
All folders on the site are displayed like this:
The grey "unsorted uploads" file contains all the images that do not belong in a folder and have been directly uploaded to a CMS page or a blog post.
The blue folders contains all picture folders. You can manage all folders, add and delete them.
When you select a folder or file, the clipboard management icons become accessible. From left to right, the icons allow the following actions on the folder or file:
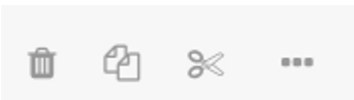
- Delete
- Copy
- Cut
- allows you to resize/rename the image or file
Files
In the list of files, you can see these columns:
- Checkboxes (select/deselect a file or folder)
- An icon of the image (or folder)
- The name of the image (or folder)
- The owner of the image/folder (usually the person who hosted/created it)
- The size (in number of sub-folders & files for folders, in kb & resolution for images)
- Action buttons (edit or delete)

Important!
Before deleting a folder or an image, make sure that the contents of the folder or the image are not used on your site. If, for example, you delete an image while it is present in an article, it will disappear from this same article.