Here is how you create an article on the website.
See the other pages article module for more advice on how to use them to their full potential.
Back end:
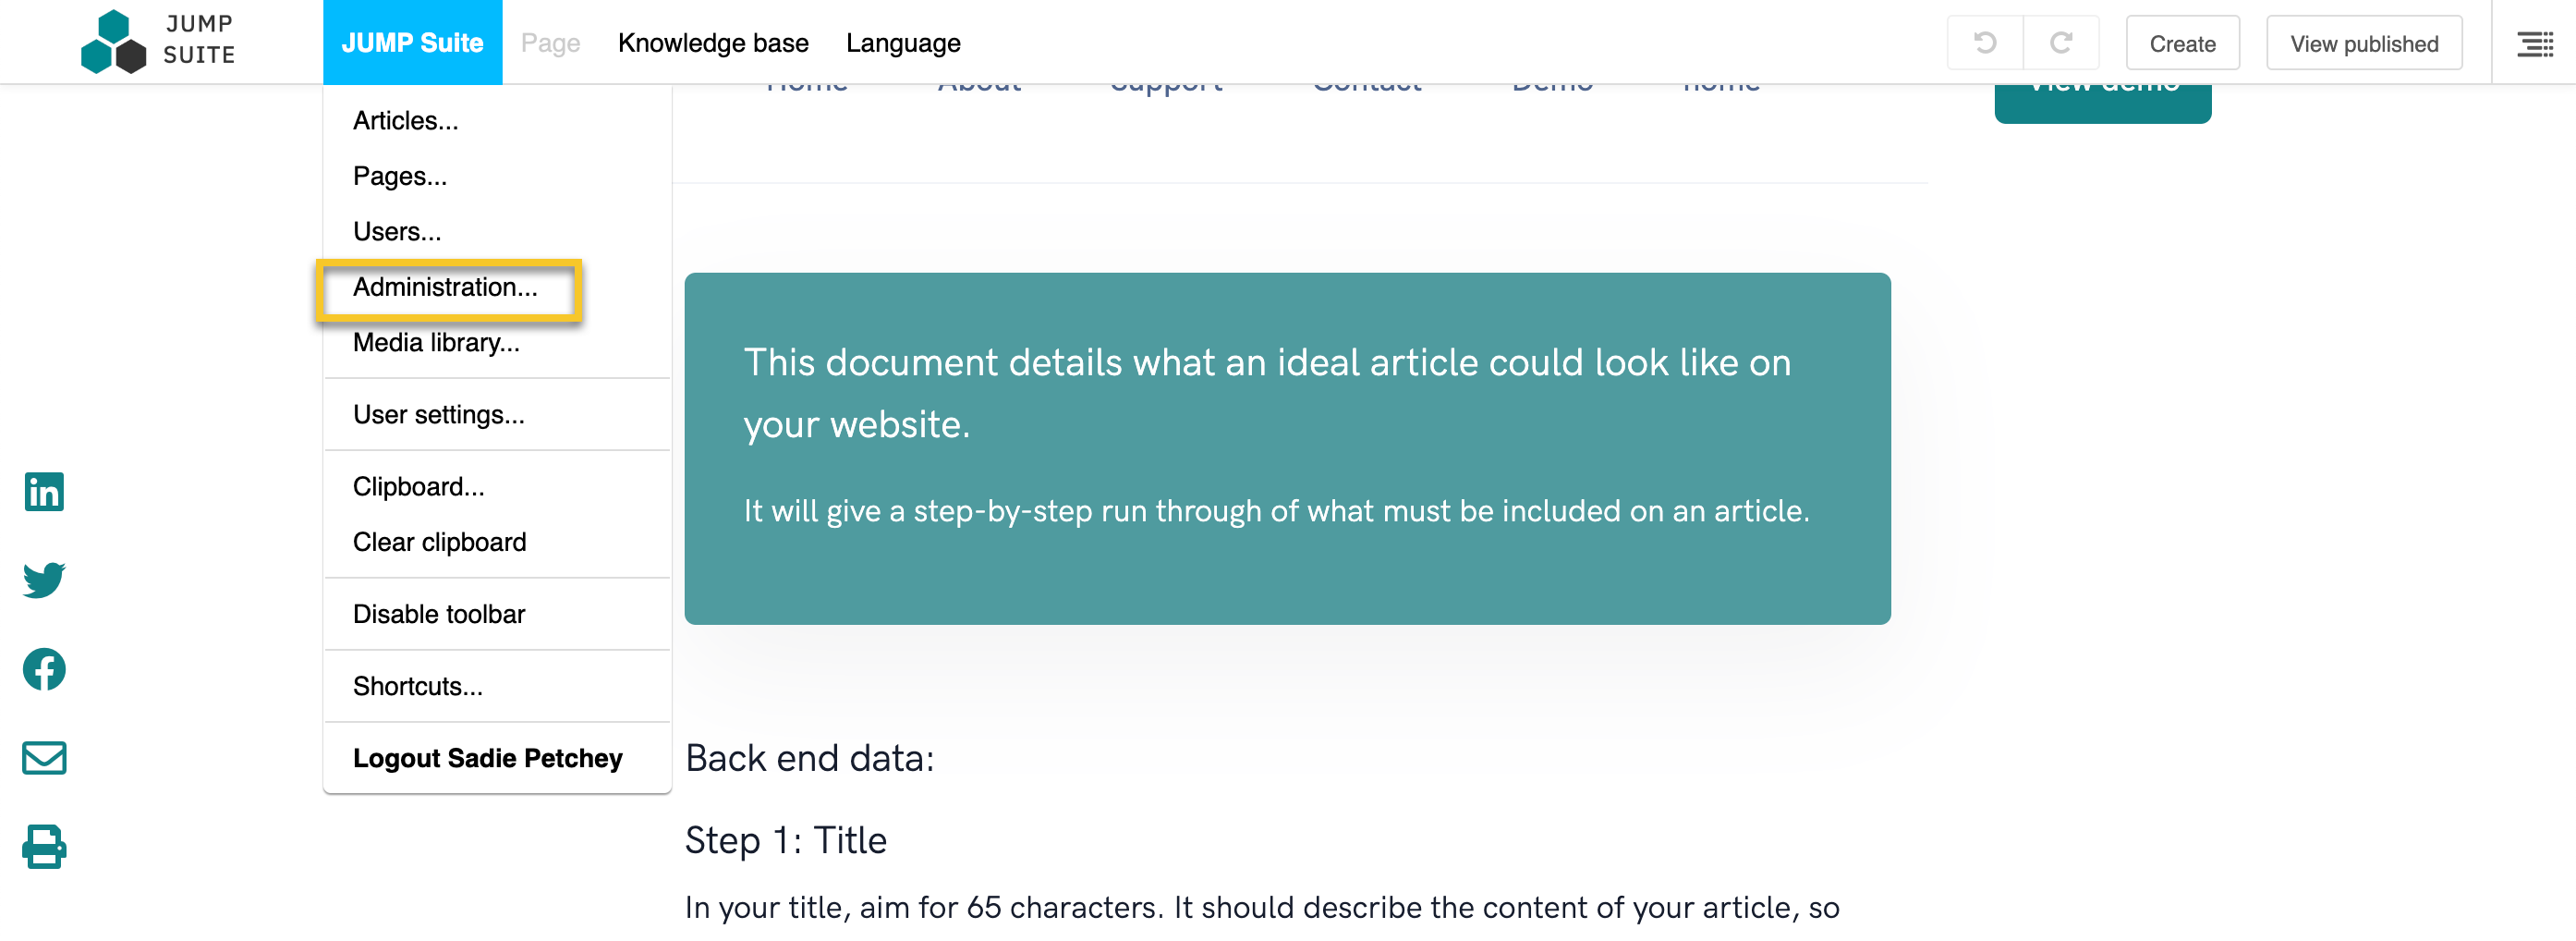
Step 1: Click on the administration tab
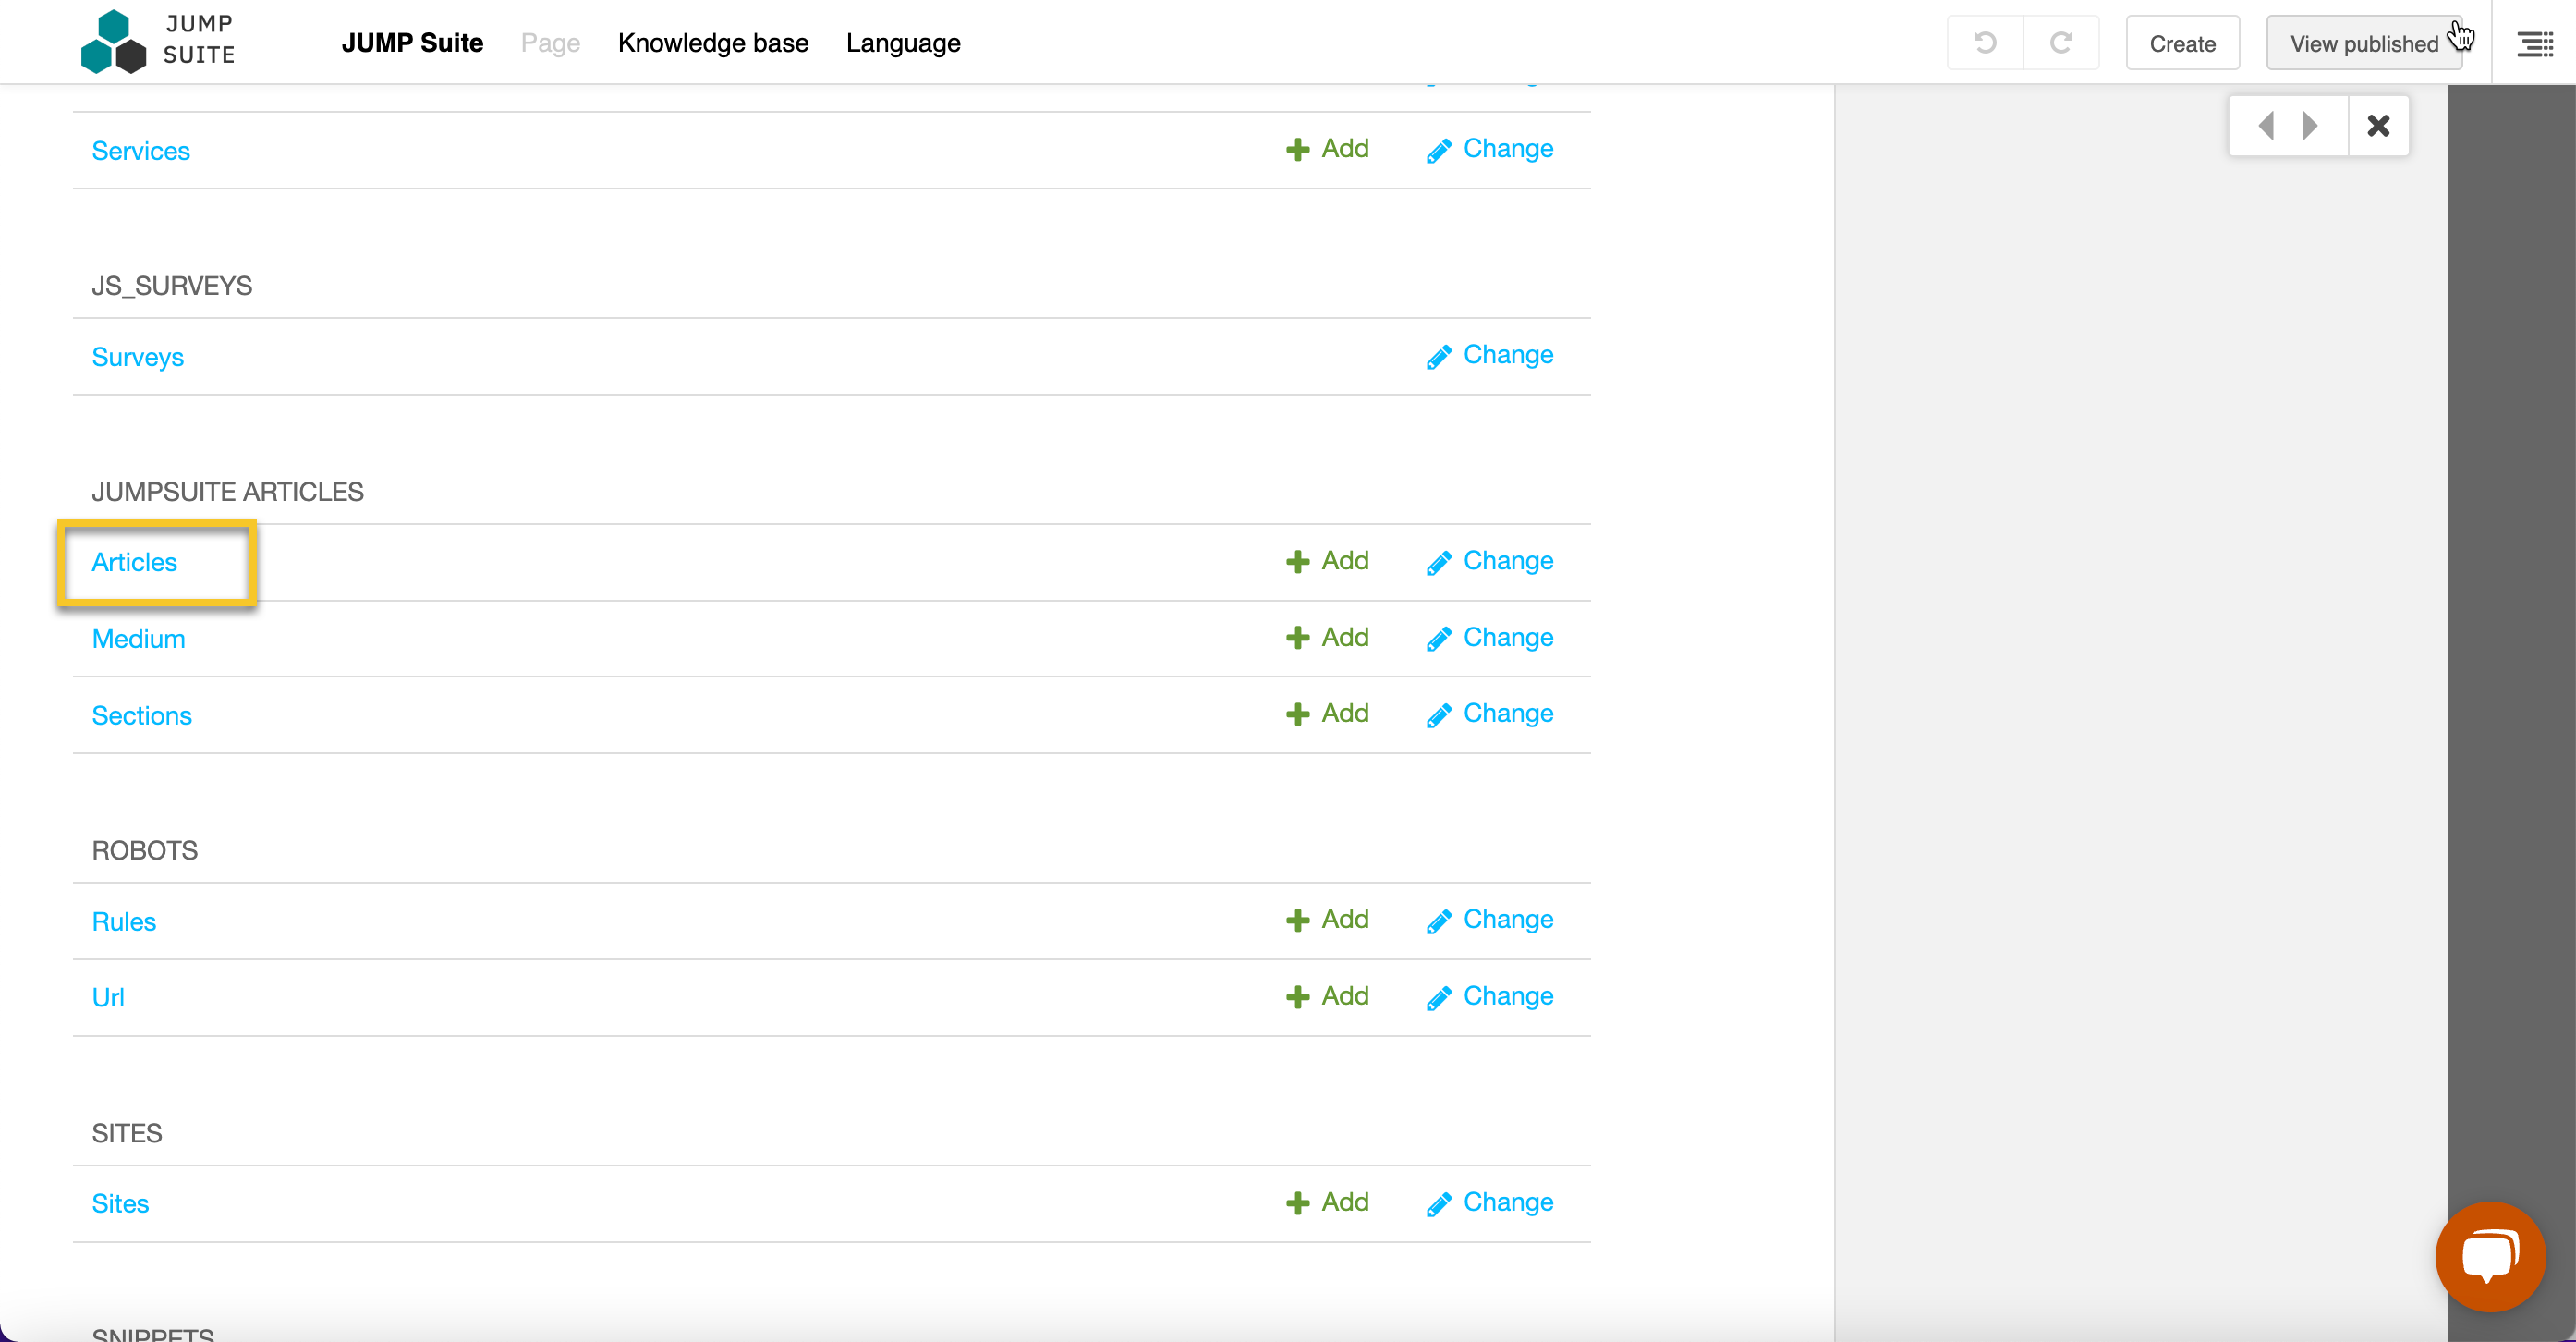
Step 2: Find the articles tab
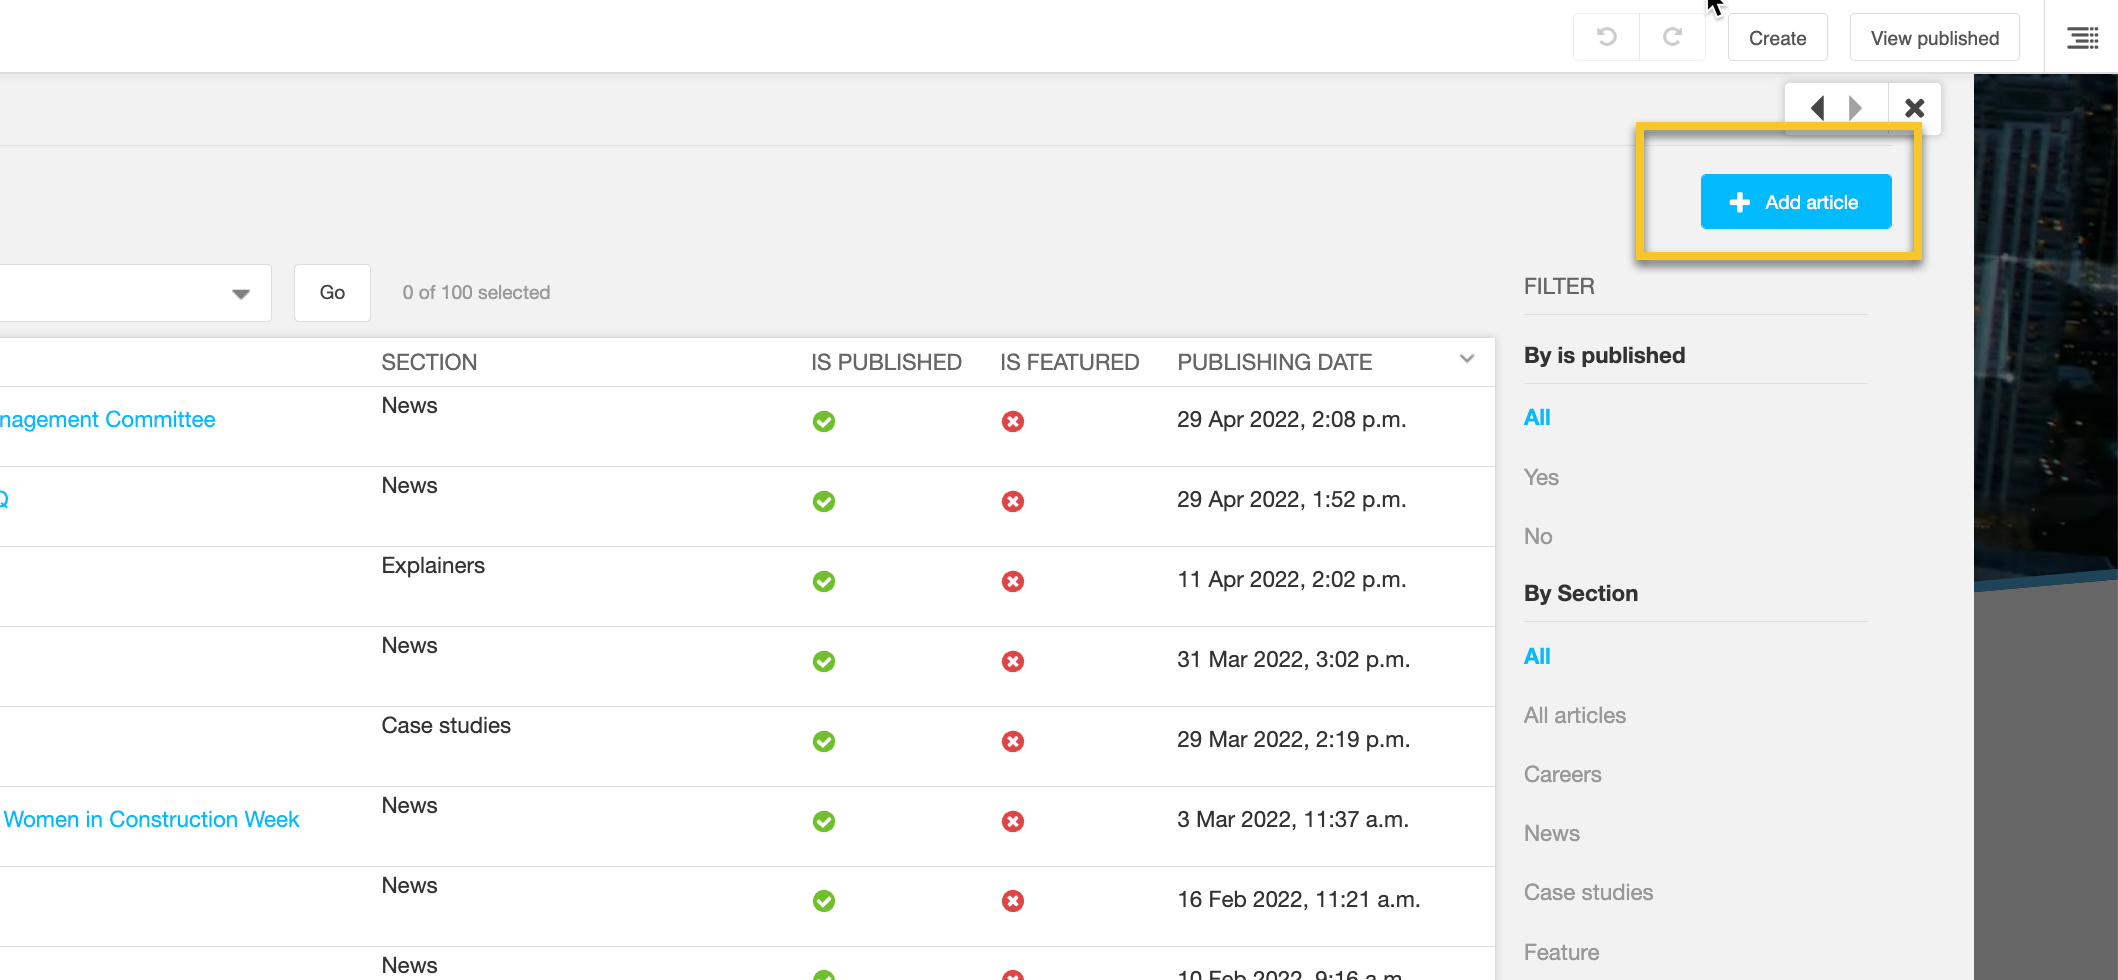
Step 3: Click the add article button in the top left corner.
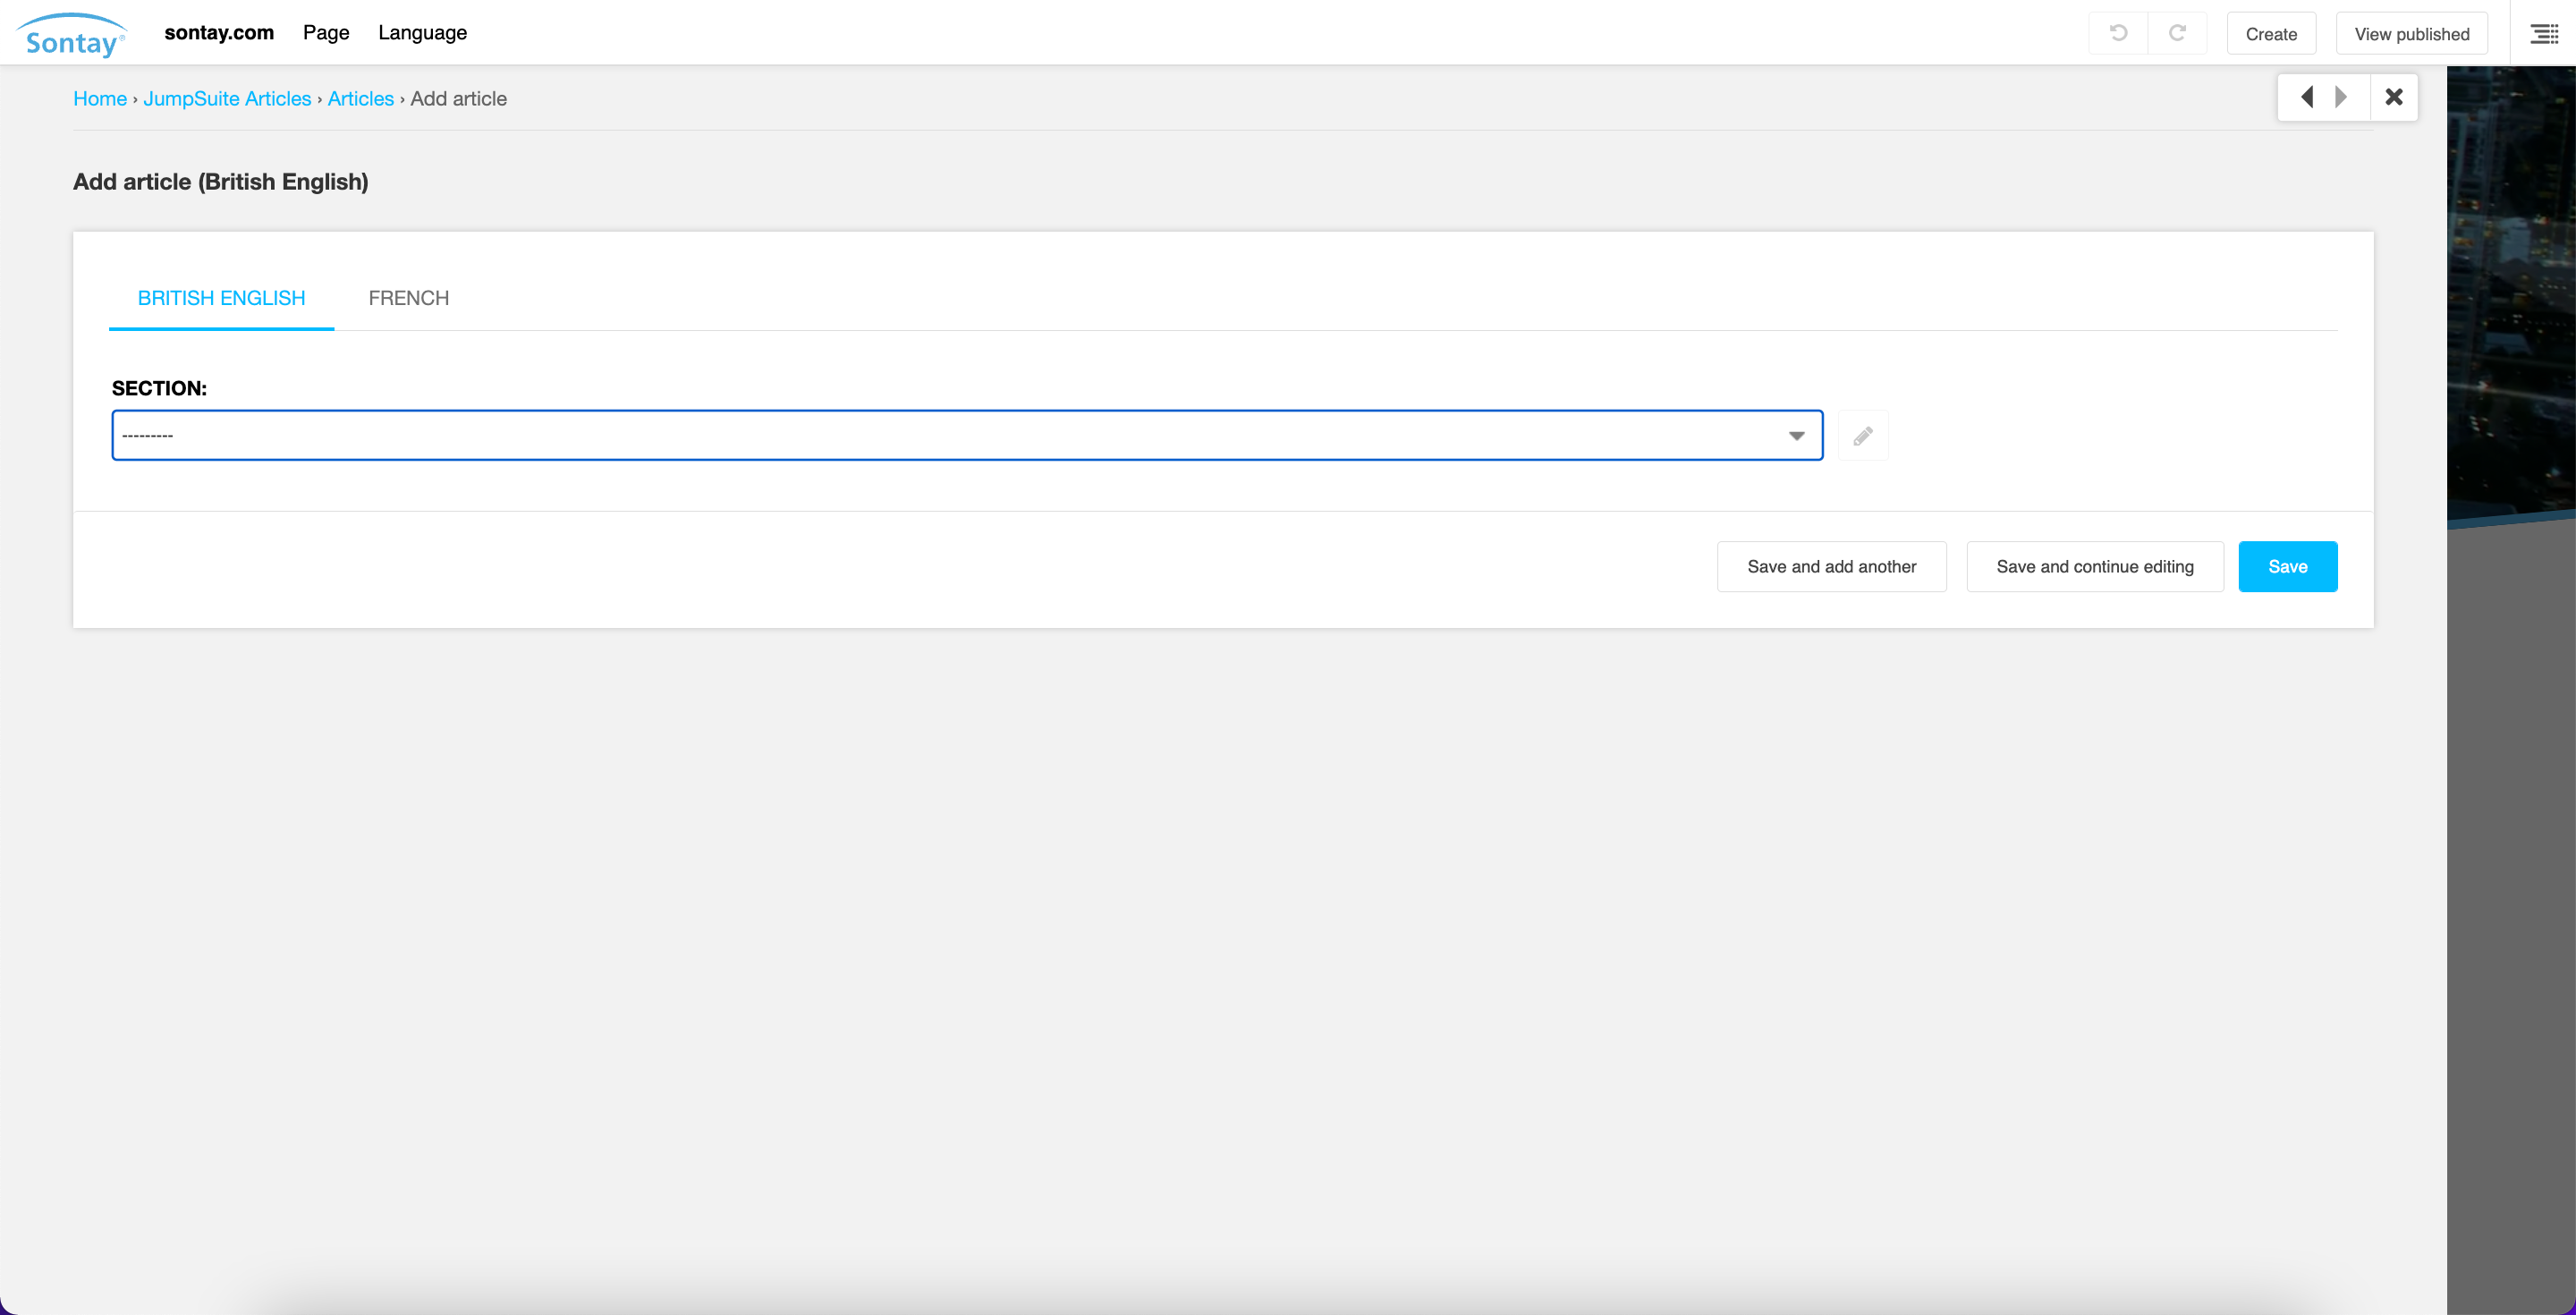
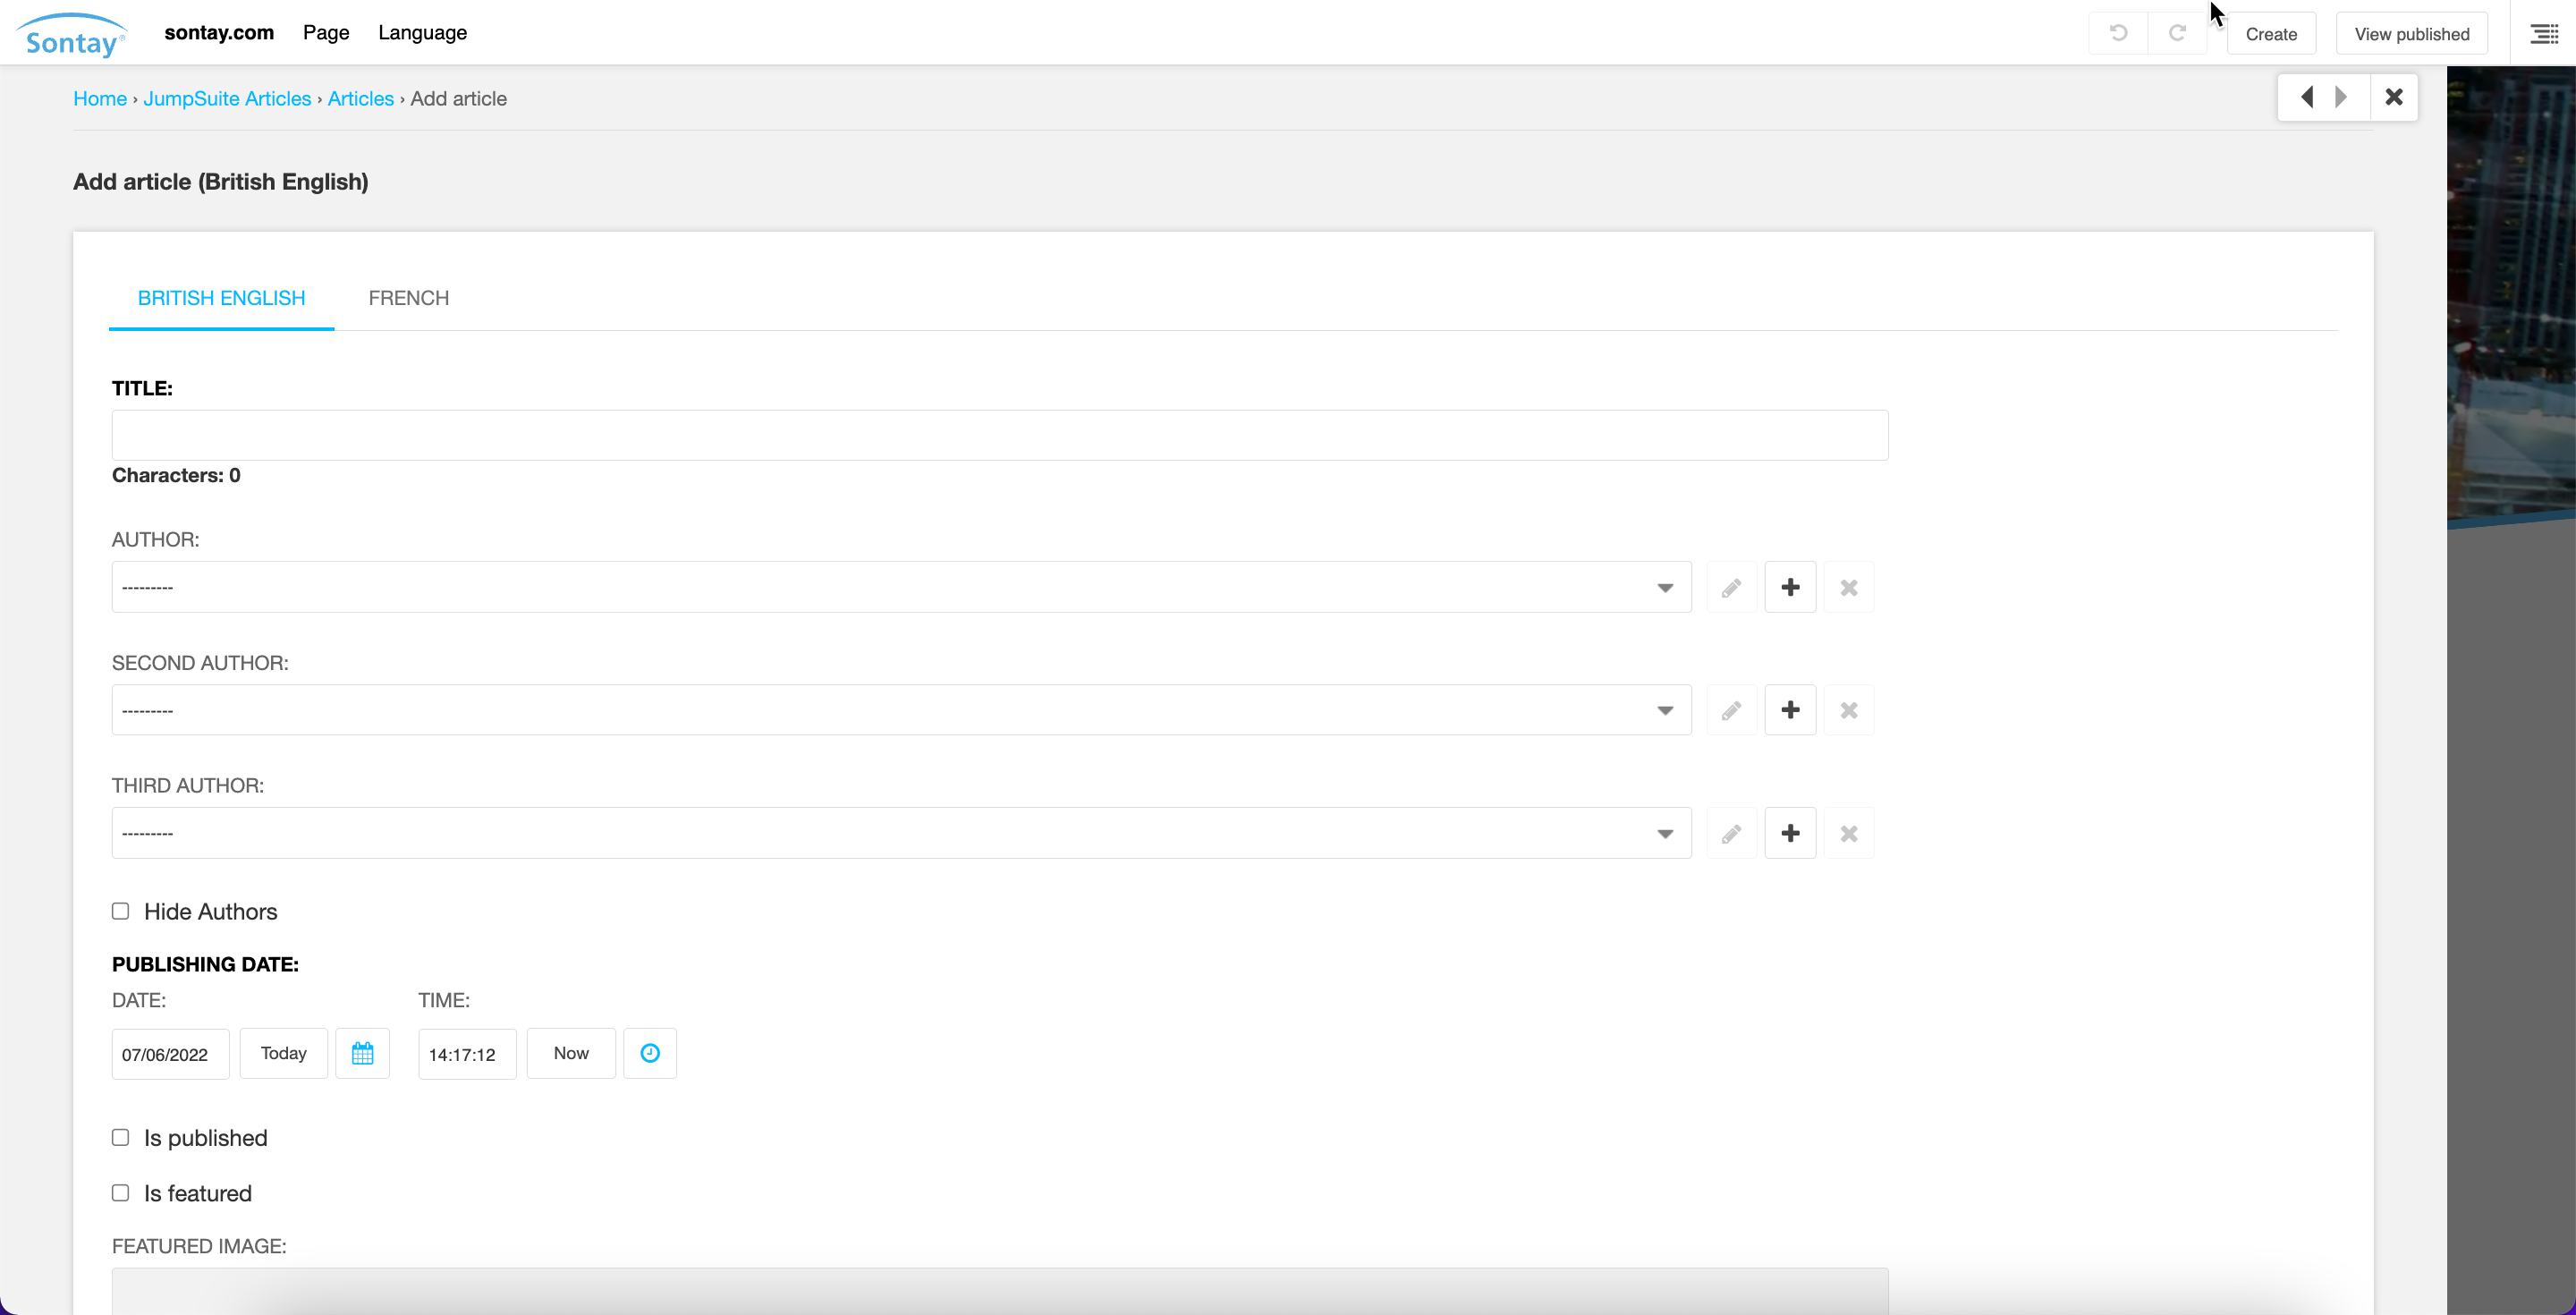
Step 4: Select which section you want the article to appear under.
This drop down will include sections such as case studies, news, interviews etc depending on which sections exist on the website.
Step 5: Fill in the fields with the correct information.
You can refer to the article checklist if you need help with this step.
Step 6: Scroll down to the ‘advanced settings’ tab to select the categories that the article will appear under.
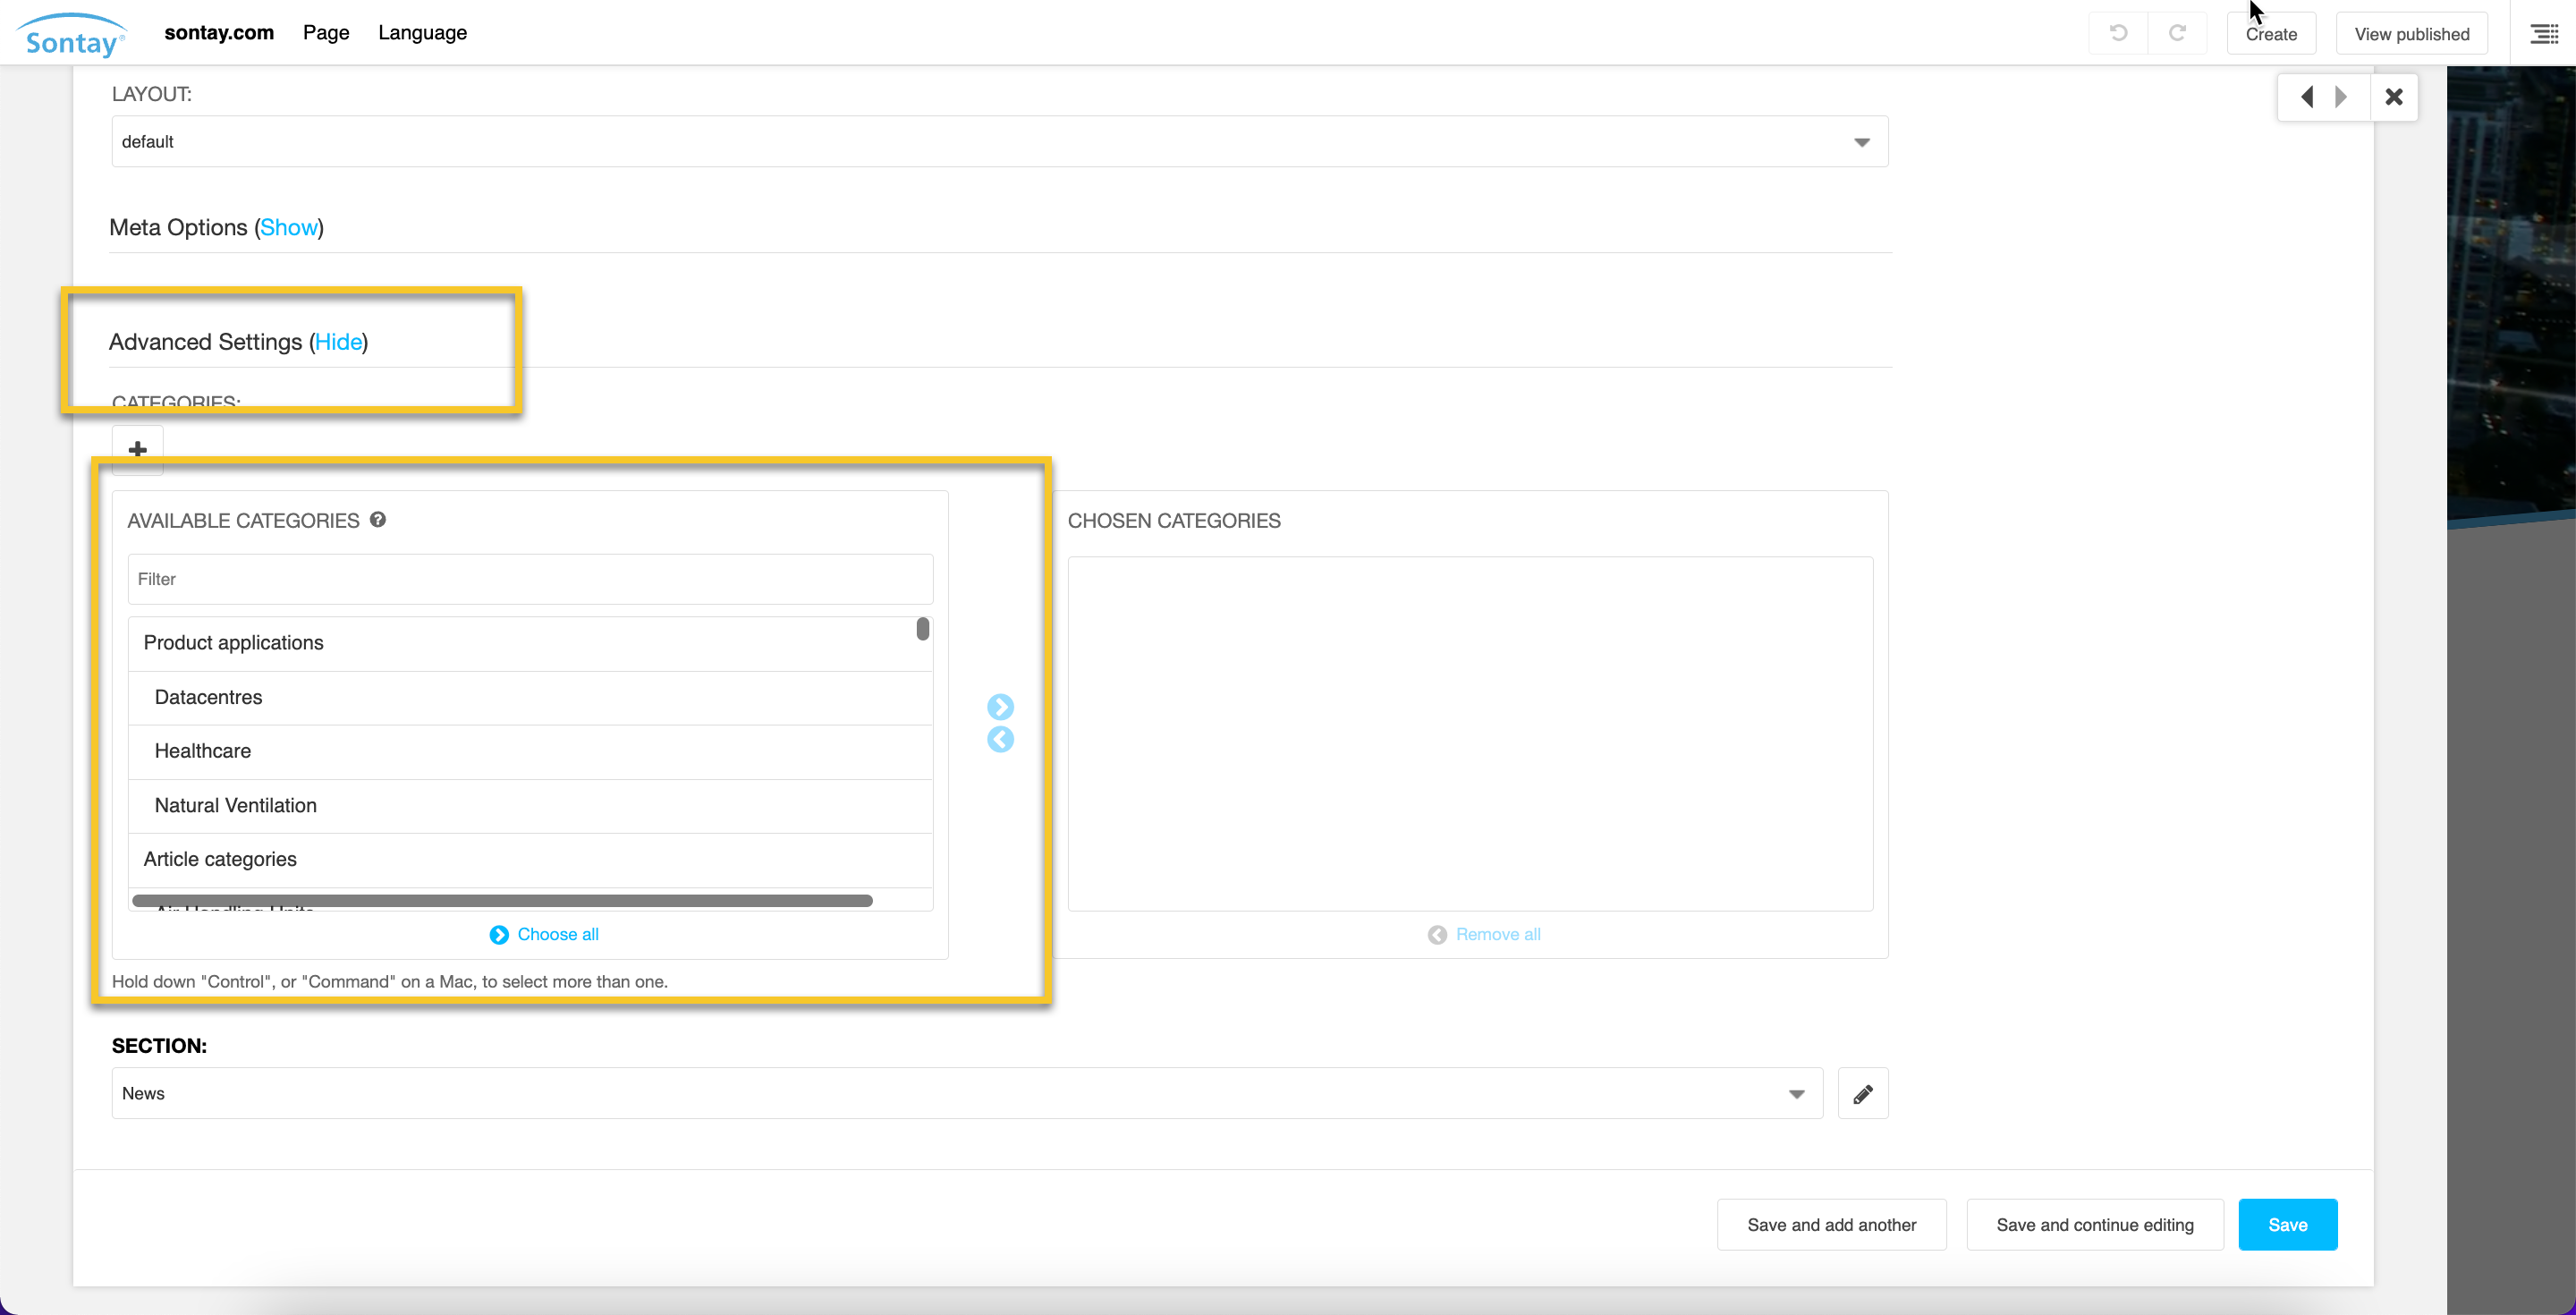
Important!
This categorisation step is important as it will determine where your article will show on the website. For instance, if you select ‘natural ventilation’ , anywhere that ‘natural ventilation’ is set to show in a ‘related articles’ panel, the article will show up.
Step 7: Press ‘save’ and the article will appear in the article listing
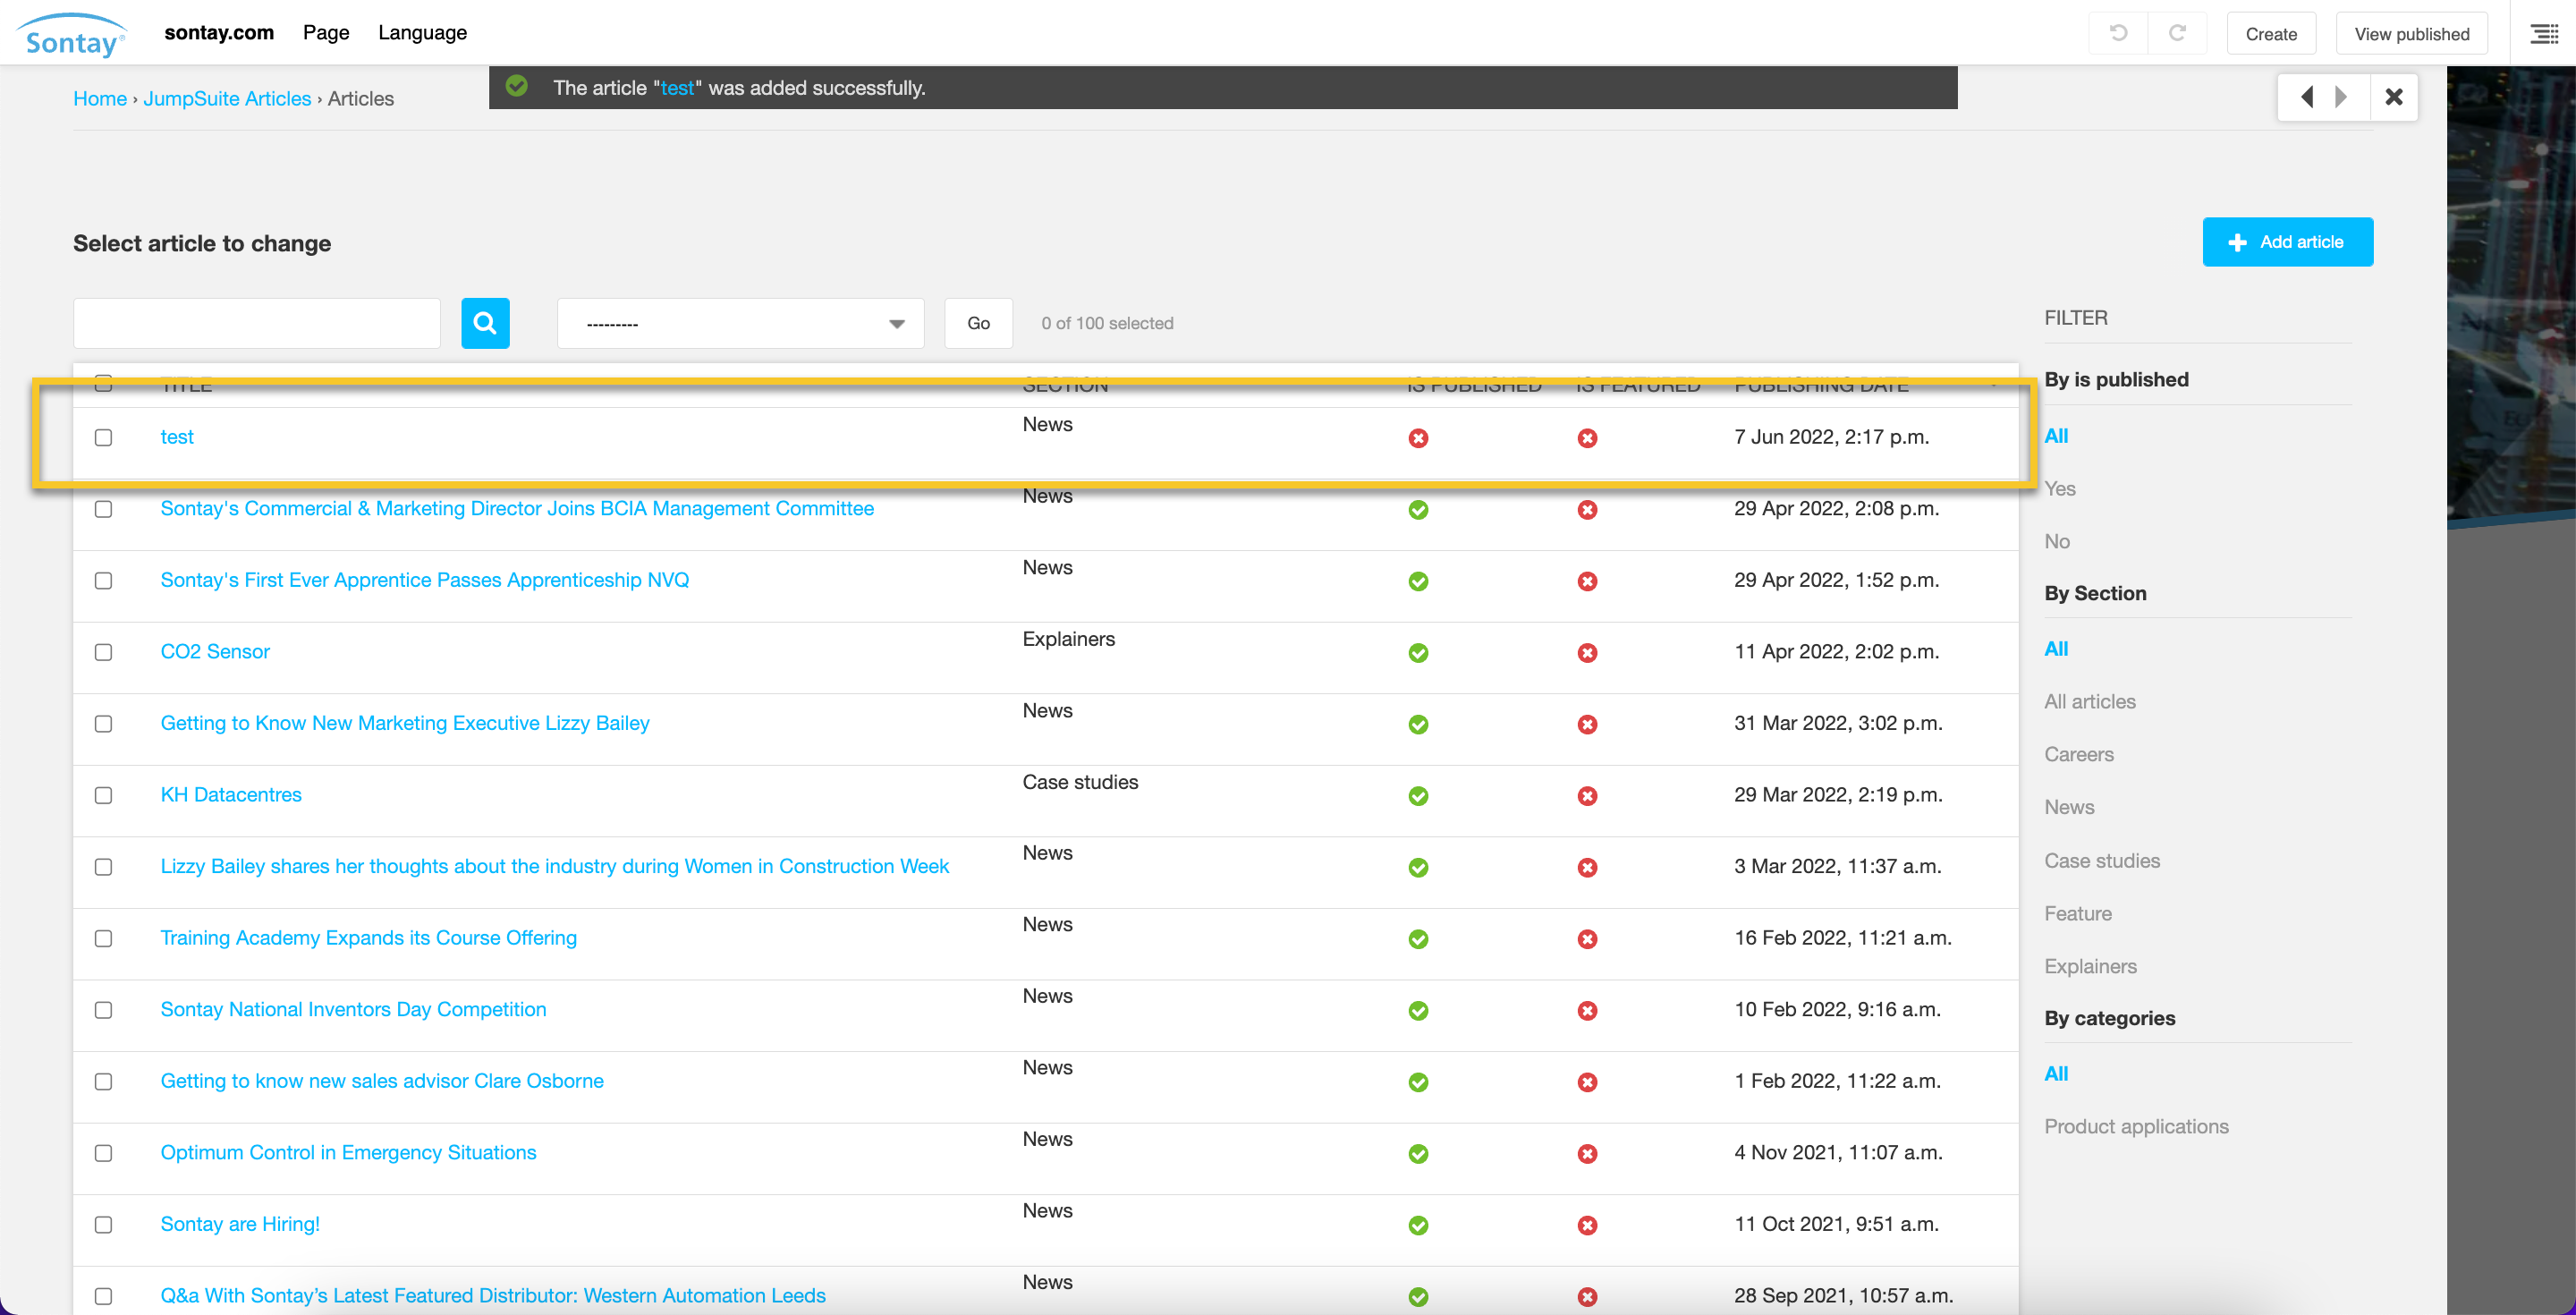
After you save the article, click back into the article and press ‘view on site’, which will take you to the front end.

Front end:
Step 1: Click on the hamburger menu opener in the top right corner to reveal the plugins

Step 2: Press the + button to add plugins
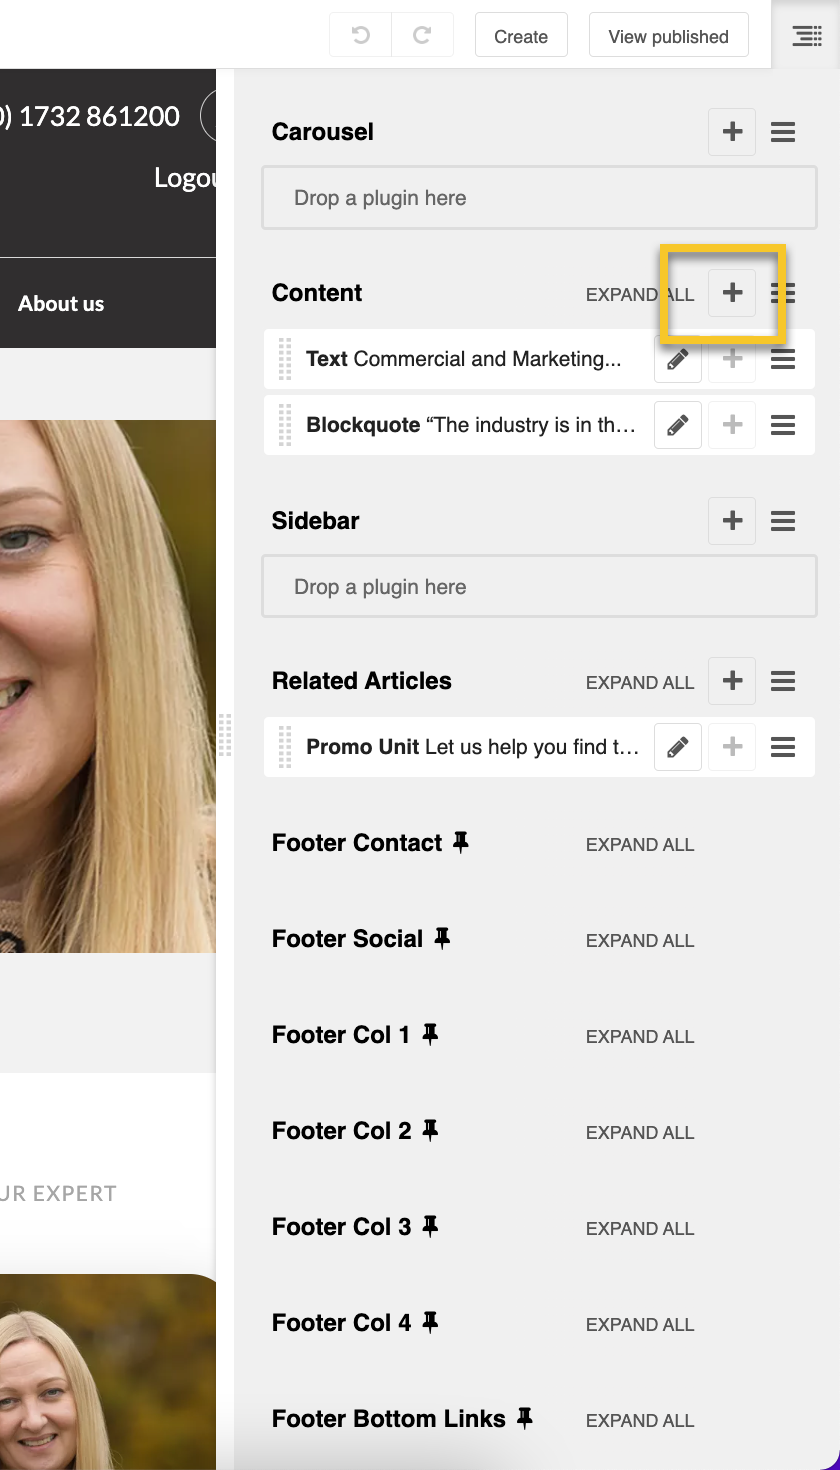
You can add plugins such as text and images here, just press the + to reveal the drop down and search for the plugin you would like to use.
When you are finished editing, press save and the plugin will appear on the page.
To edit the plugin again, press the pencil tool.